

Start a post
Engagement -> Posts -> + New Post, then choose Start from blank (or start from a template). You’ll land in the post studio: step sidebar on the left, editor in the middle, preview on the right (#1963, #2148). The top bar holds the status dropdown and the save button, labelled Create on a new post and Save once it exists.The language switcher (#2226) appears in the top bar only on a saved post, and only when your community has more than one language enabled. A single-language community never sees it.
The four steps
Only Basic Information is required. The other three are marked Optional and can be left at their defaults.Basic Information
Post Image (1440x1440px recommended, square), the Featured toggle, Post Title (required), and Post Content, a rich-text editor (#675).Click the post image to open Select Banner Image, which has three tabs: Library (assets already in your community or organisation), Upload New, and Image Gen AI.
Scheduling
Turn on Schedule Post to set a Start Date & Time and an optional End Date & Time. Leave it off to publish immediately. See Featured & Scheduled Posts.
Interaction Settings
Toggle Comments, Likes, and Post Image Display on or off for this post. Reset to Defaults restores all three to comments on, likes on, and Post Image Display off.
Advanced Settings
Four collapsible sections: Tags, Campaigns, Custom Dark Mode Images, and Template Settings.
Basic Information
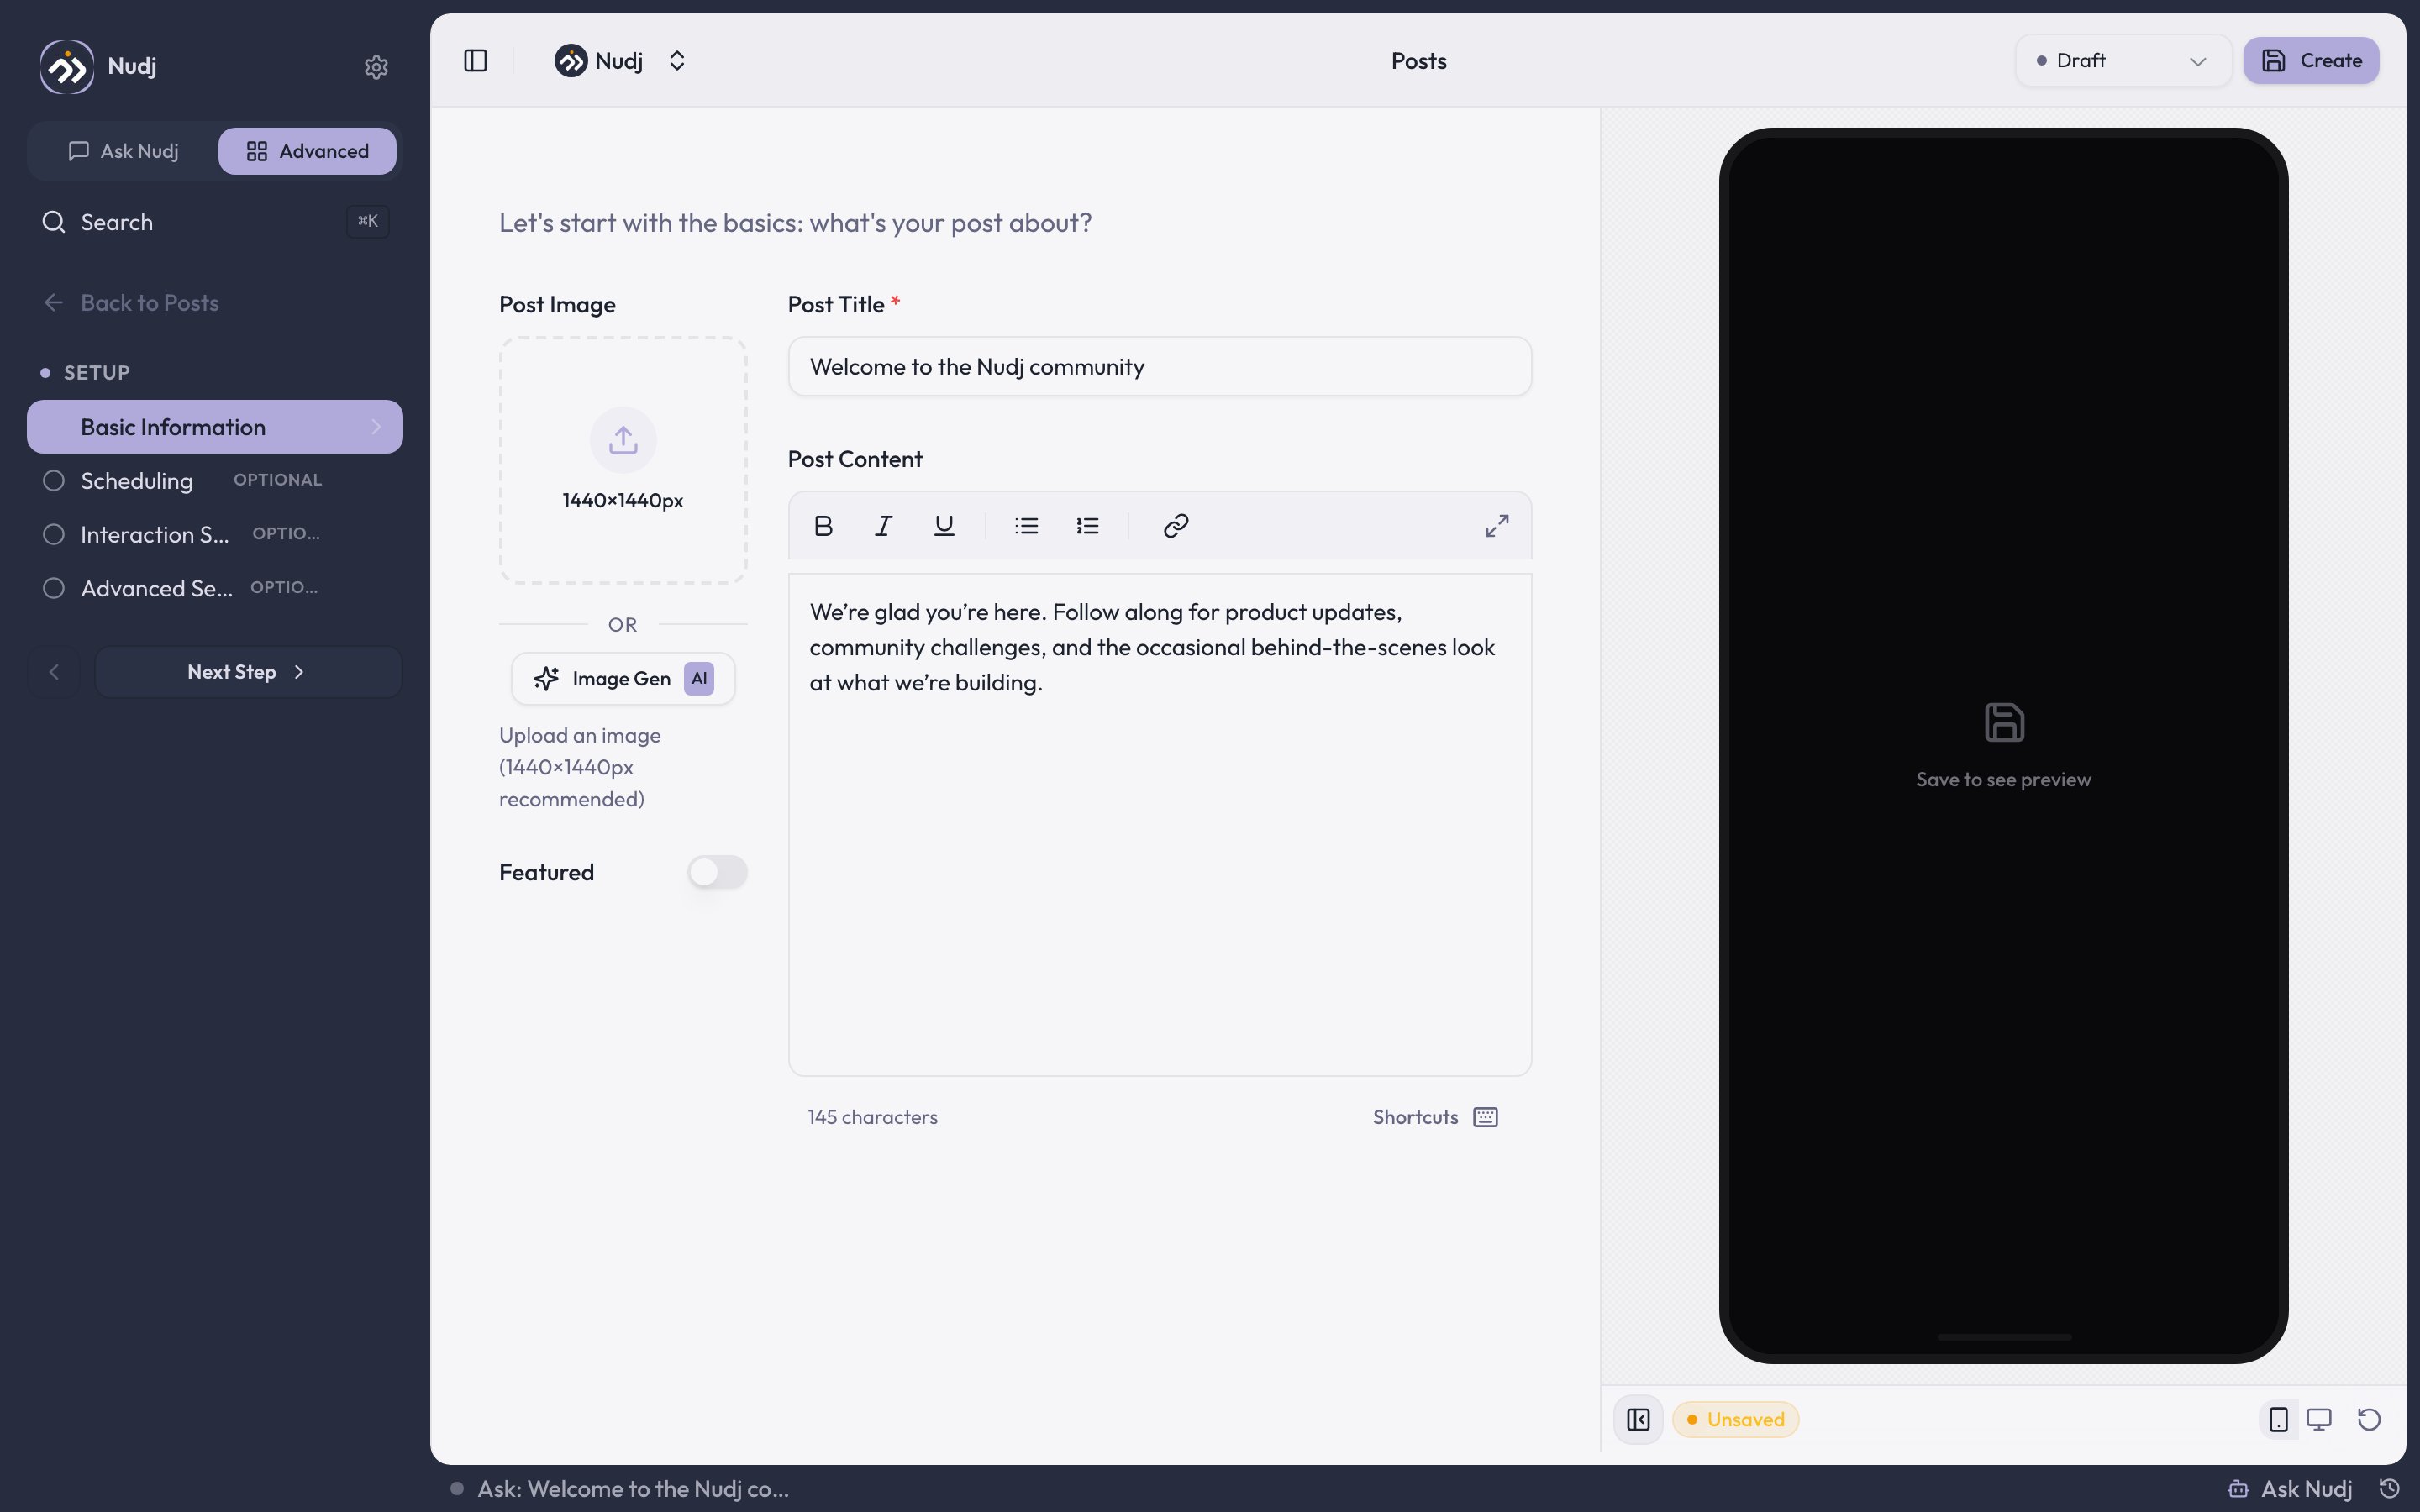
Basic Information: post image, featured toggle, title, and the rich-text content editor.
Scheduling
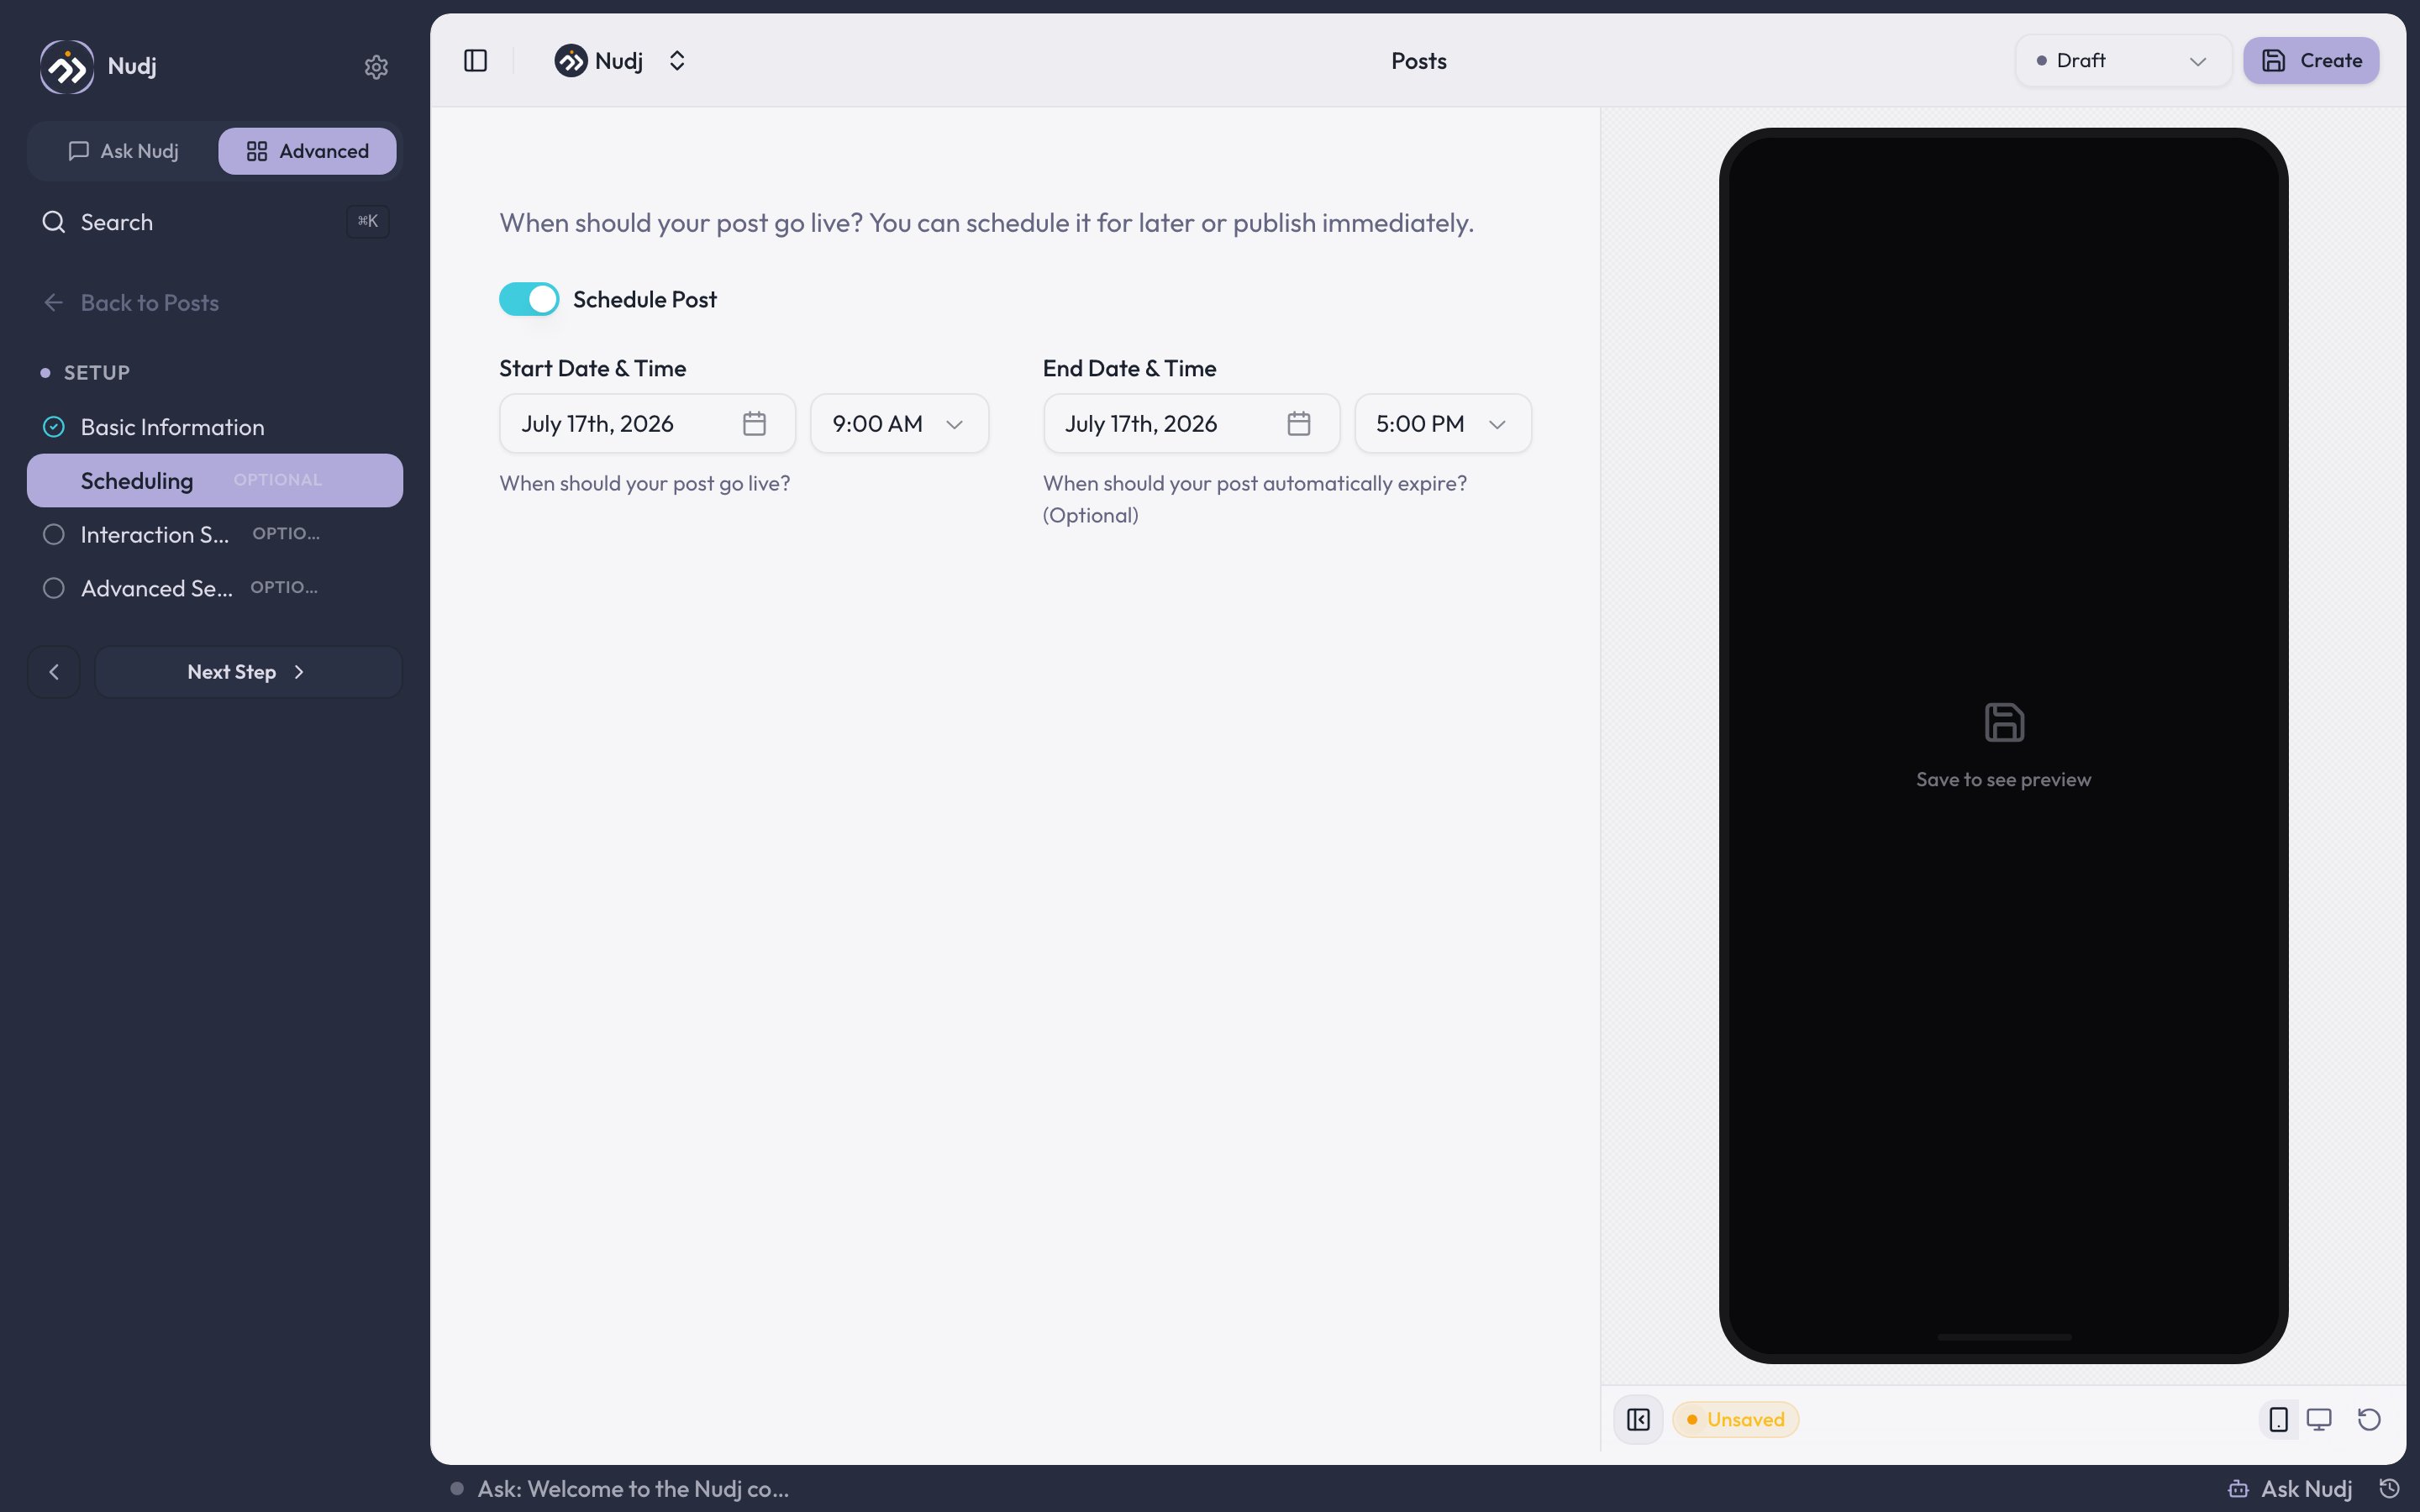
Scheduling: Schedule Post toggle with start and optional end date/time.
Leave Schedule Post off and the post has no dates. The list shows it as no dates set, and a live post runs live indefinitely.
Interaction Settings
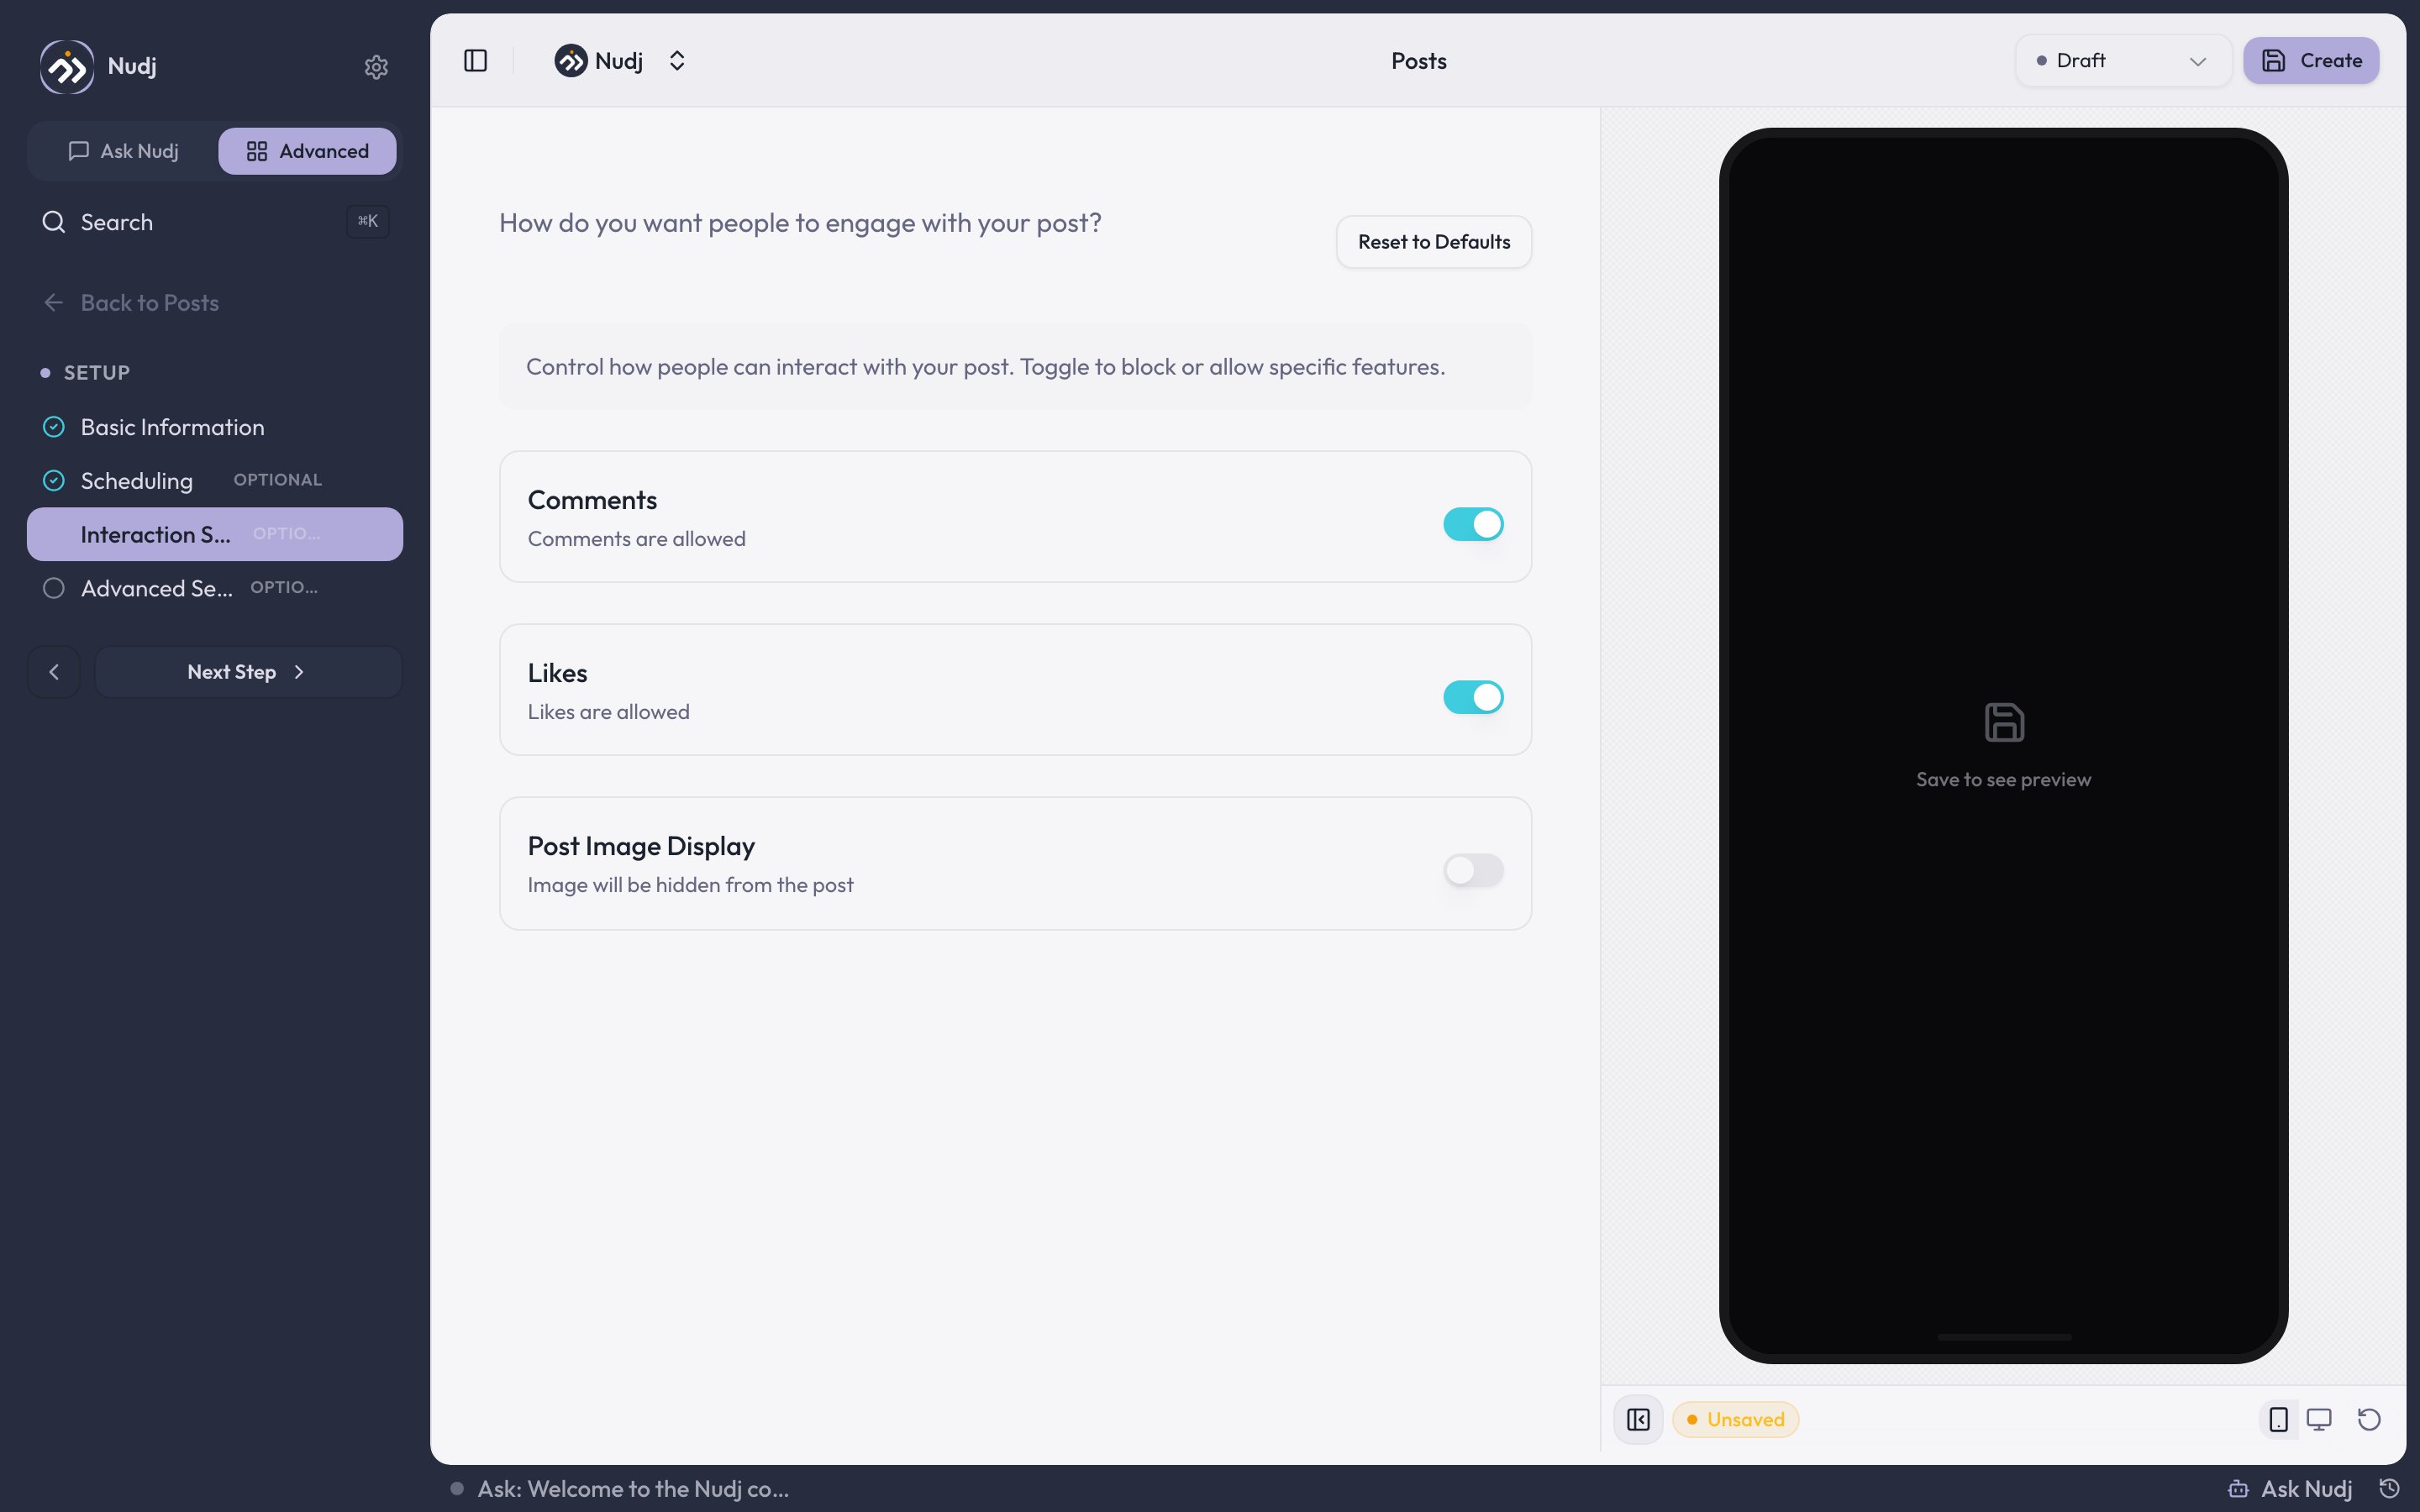
Interaction Settings: per-post comments, likes, and image display toggles.
Advanced Settings
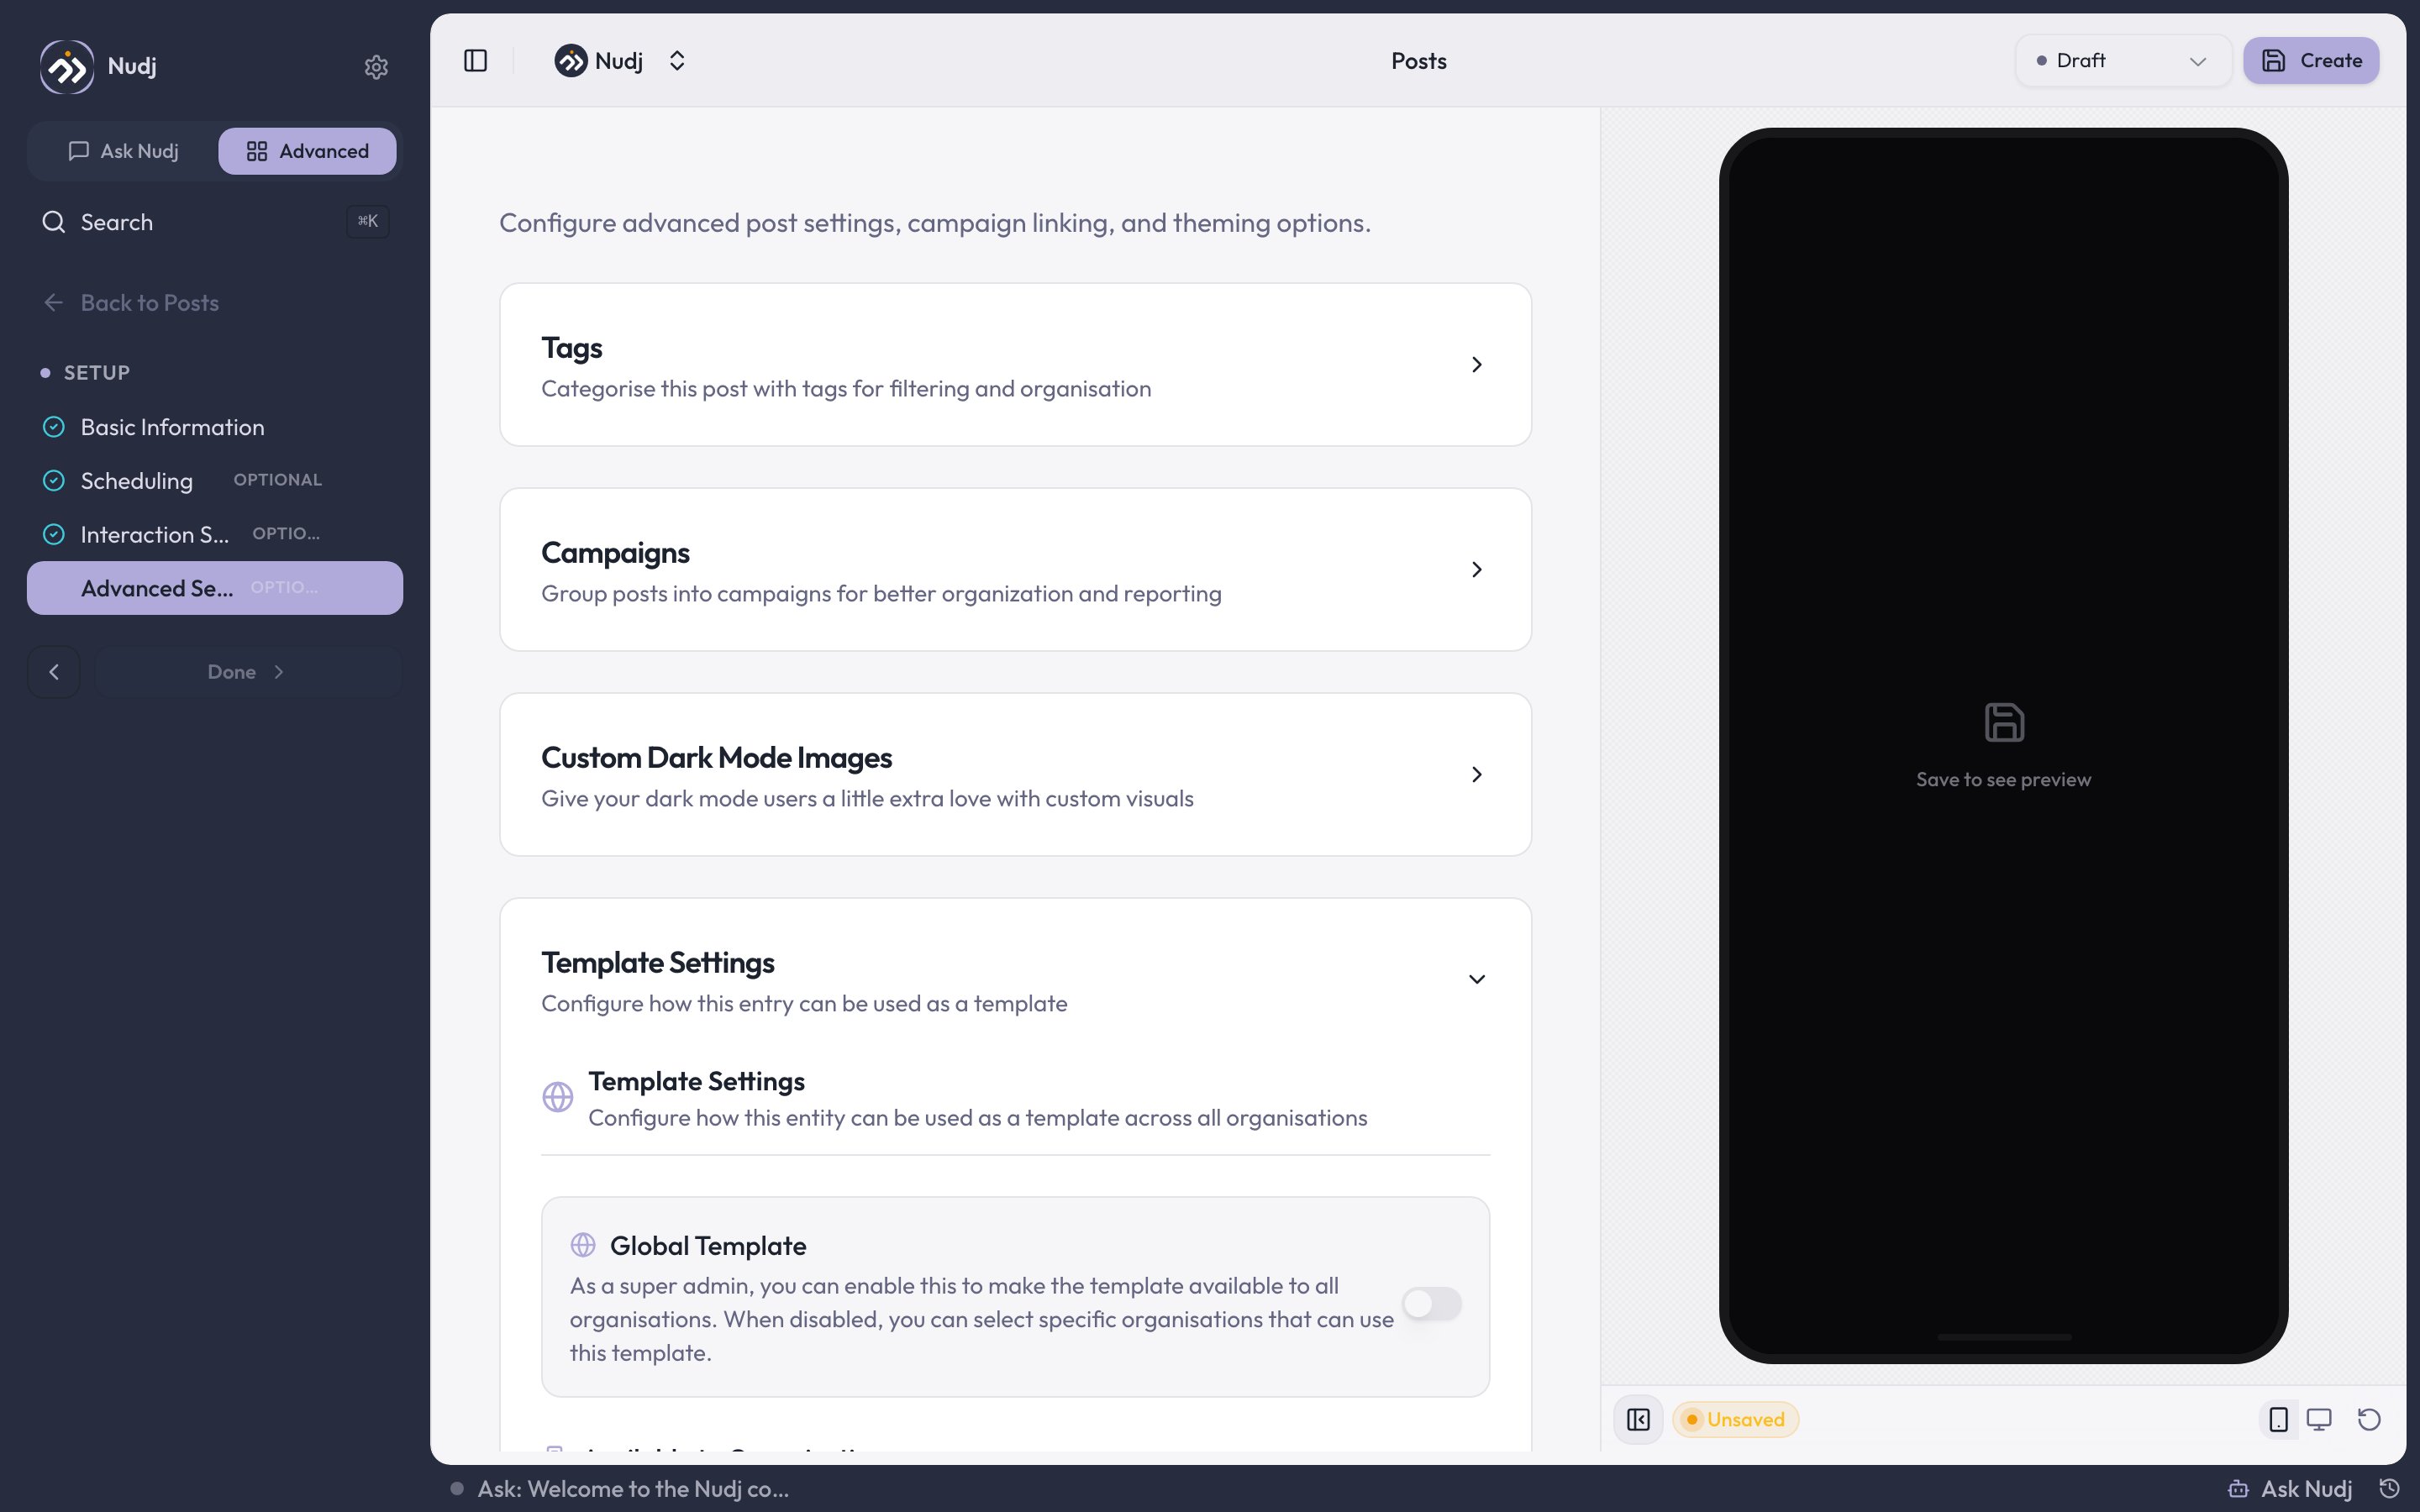
Advanced Settings: tags, campaigns, dark-mode images, and template settings.
Campaigns
Campaigns
Group posts into campaigns for organisation and reporting. Campaigns are org-scoped and can be created inline.
Custom Dark Mode Images
Custom Dark Mode Images
Not currently functional. See the warning below.
Template Settings
Template Settings
Configure how this post can be reused as a template. Choose which organisations may use it via Available to Organisations. Super admins additionally get a Global Template toggle that opens it to every organisation at once; with that toggle off, the organisation picker applies.
The preview panel
The right-hand panel renders your post exactly as members see it, by loading the real member-facing page in a frame. On a brand new post the panel reads Save to see preview for as long as you’re on the create screen, and pressing Create does not populate it. The post saves and you’re taken back to the posts list a moment later, so re-open the post from the list to see its preview. From then on you’re in the edit studio, where the preview is populated and refreshes on every save. Use the device toggles at the bottom of the panel to check phone and desktop widths.Moderating comments
The studio sidebar has a Moderation -> Comments section on saved posts (create the post first). Search comments, filter to top-level or replies only, show only comments with an image, delete individual comments, or Export them to CSV. You can also export every comment in the community from Engagement -> Posts -> Export comments (desktop only, capped at 10,000 comments per export).Moderation is delete-only. You can’t reply to a comment from the admin panel, so if you want to answer a member you’ll need to do it as a member in the community itself. Both the per-post section and the community-wide export need comment read permission, so some roles won’t see them at all.