Creating a Community
A Community is the actual space where your users log in, complete challenges, and see the leaderboard. You can have one community for everyone, or multiple “Sub-Communities” for different teams, regions, or products.Time to Complete: 10 minutes
Technical Level: None
Support: [email protected]
The Creation Flow
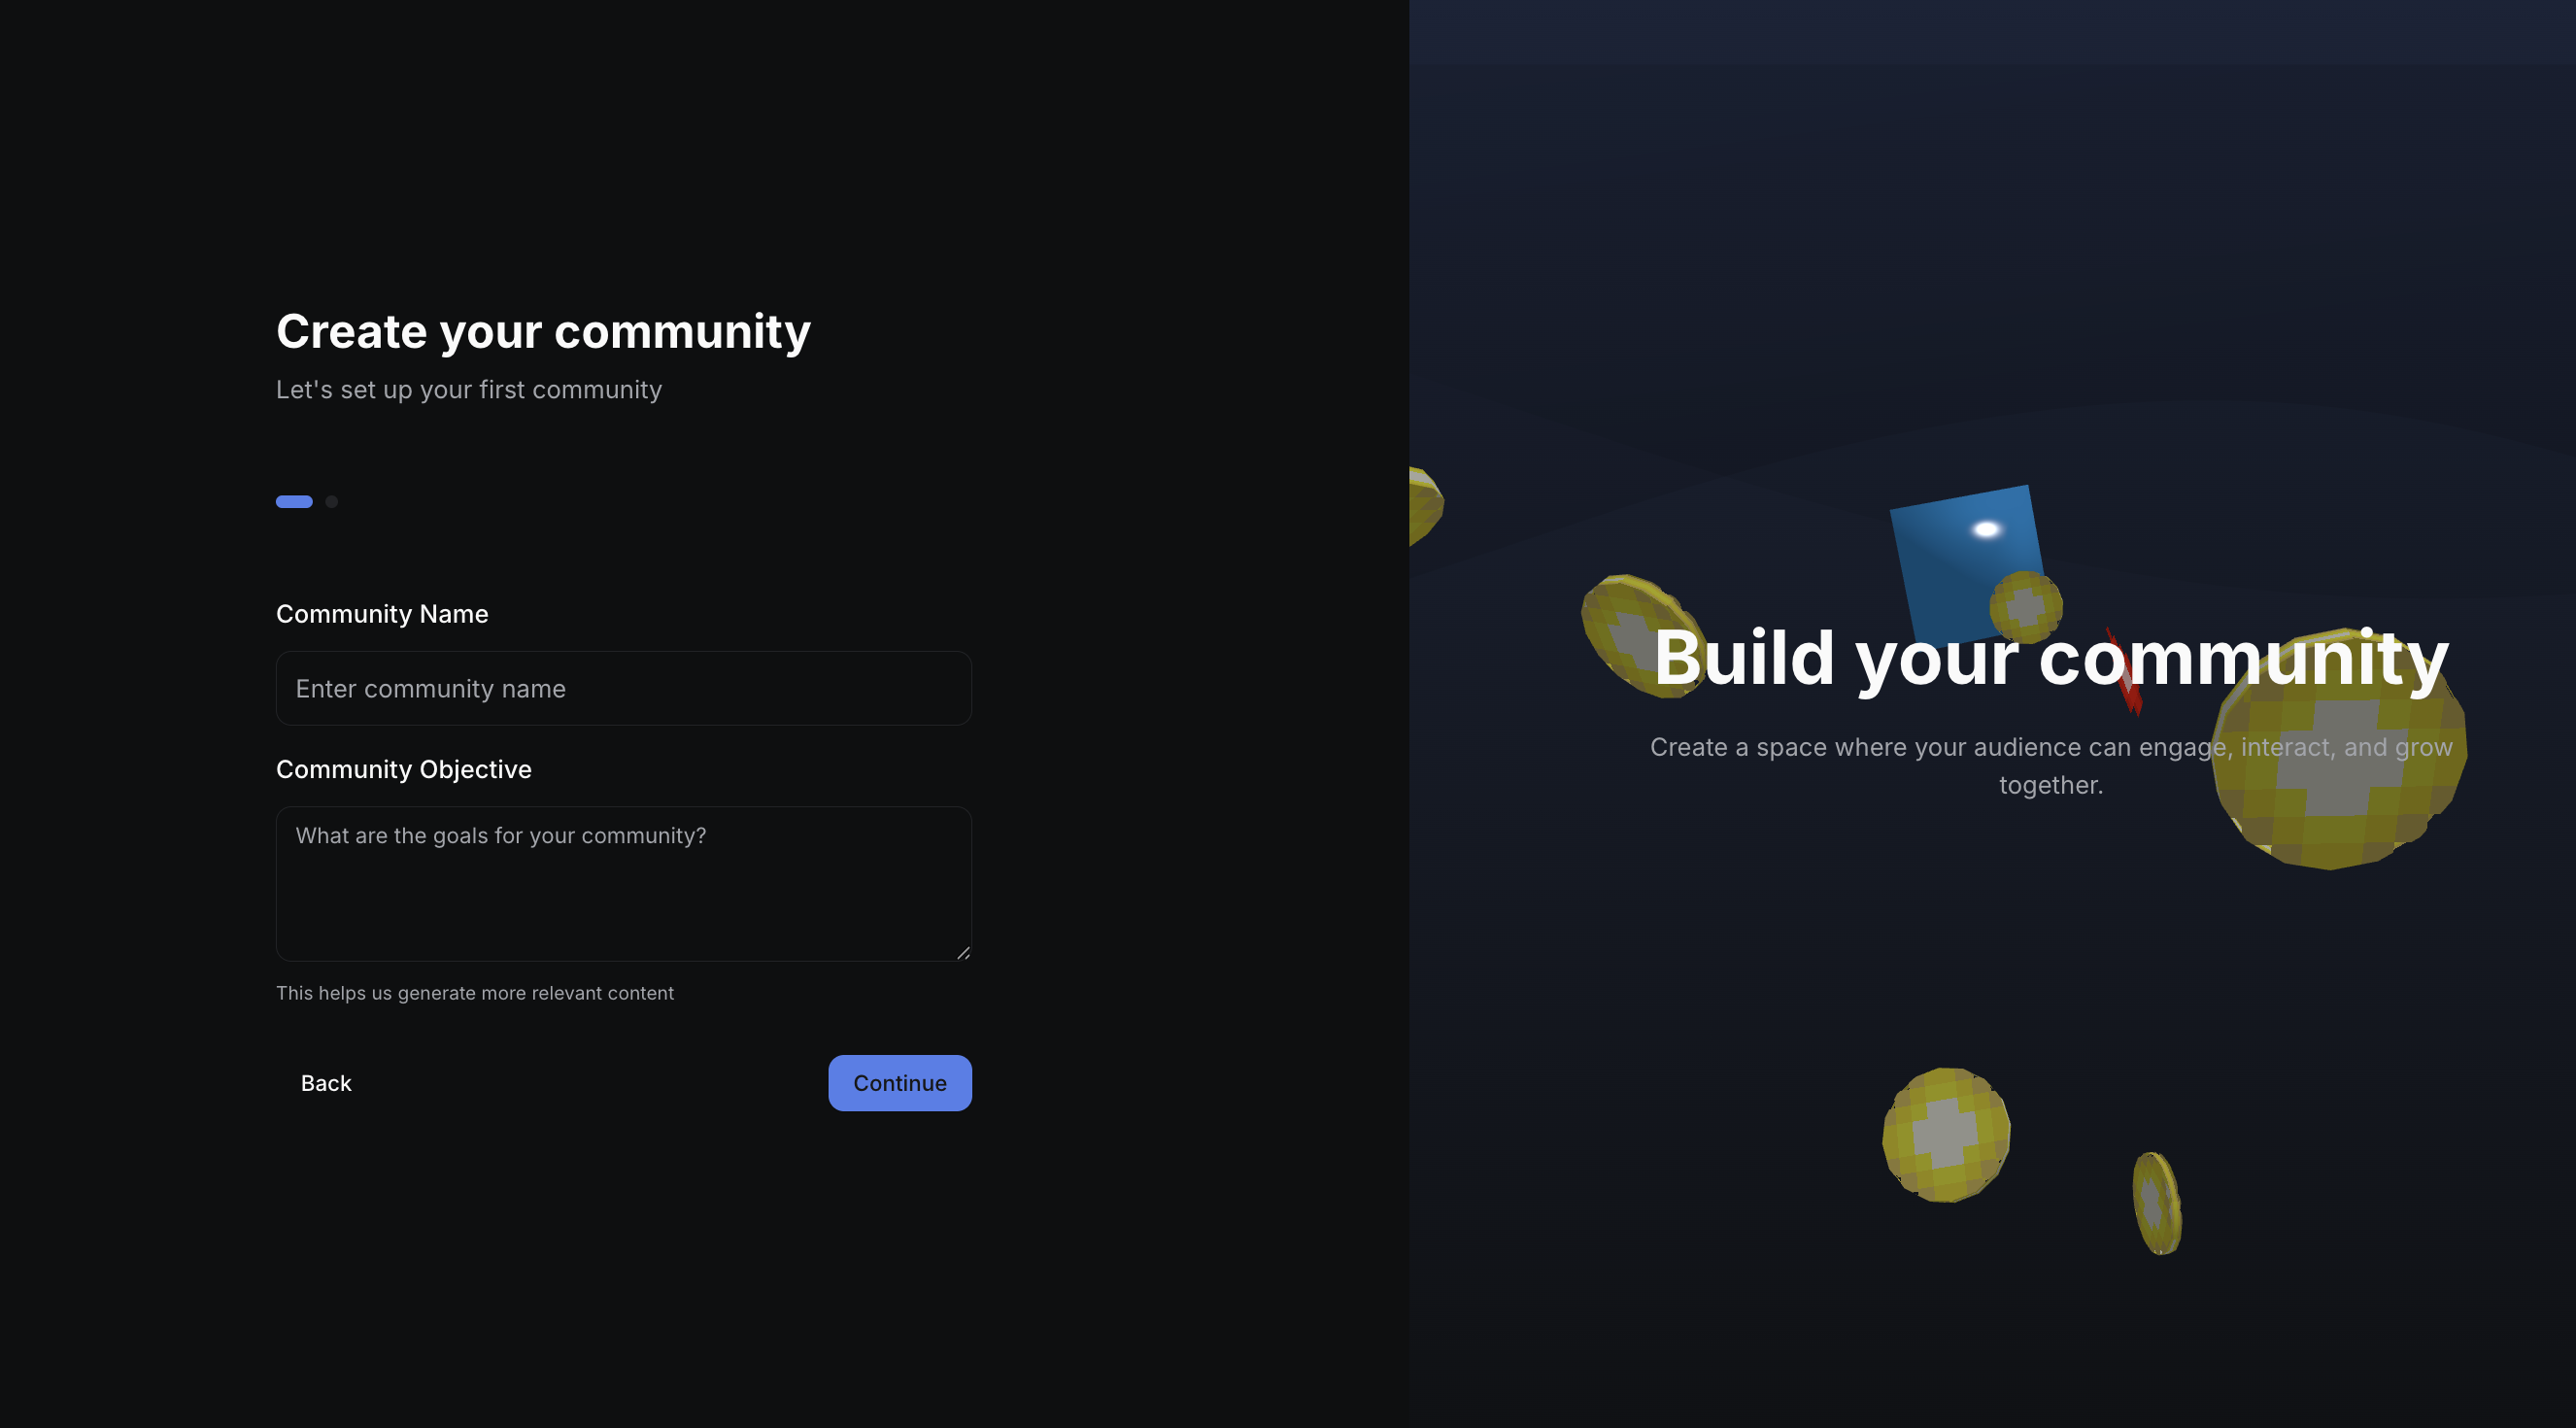
If you’re a new user, Nudj will automatically guide you here. If you’re adding a second community, click the Community Switcher in the top navigation and select + Add Community.
1. Basic Information
- Community Name: The public name your users will see (e.g., “The Creator Hub”).
- Community Objective: A internal note about what this space is for (e.g., “Onboarding new customers”).
- Privacy Mode:
- Open: Anyone with the link can join.
- Request-to-Join: You must approve every member.
- Private: Users must be invited by email or SSO.
2. Branding & Appearance
You can override your Organization’s branding for this specific space.- Logo & Favicon: Custom images for this community.
- Primary Color: Used for buttons, progress bars, and highlights.
- Theme Selection: Choose between “Light”, “Dark”, or “System” default.
3. Localization
Select the Primary Language for this community. You can enable Multiple Languages later in settings.The Admin “Control Room”
Once created, you’ll land in the Control Room for that specific community. Every community has its own:- Dashboard: Real-time participation stats.
- Challenges: Your active engagement campaigns.
- Rewards: The shop where users spend points.
- User List: Every member of this specific community.
Customizing Your Space
A community isn’t just a list of challenges. You can make it feel like home by customizing these areas:Custom Domains
Host your community on
community.yourbrand.com.Navigation Layout
Add custom tabs, external links, and reorder the menu.
Legal Policies
Add your own Terms and Privacy Policy for this space.
Login Methods
Choose if users log in via Google, Magic Link, or your own SSO.
Next Steps
Now that your space is ready, let’s give your users something to do!Create Your First Challenge
Launch a welcome challenge to get users their first points.

